
Building a new roof
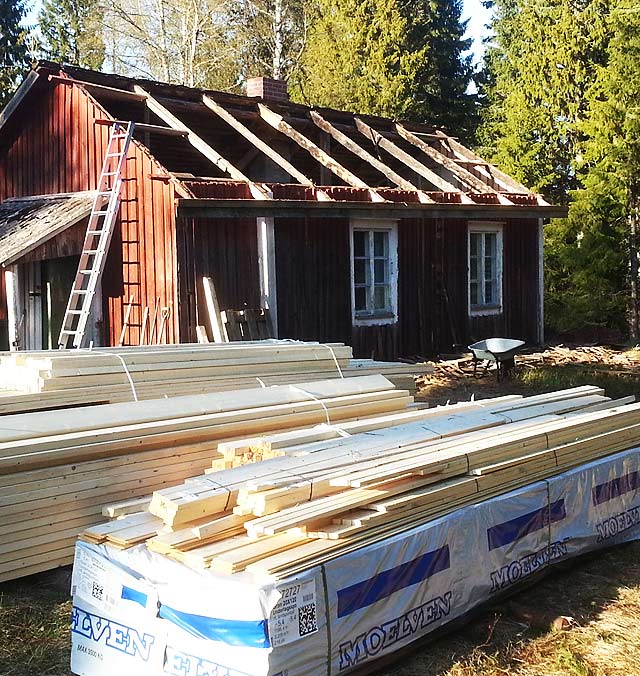
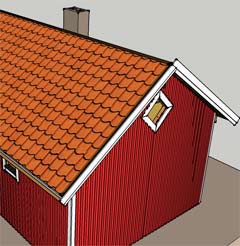 The first step in renovating the old cottage at Kullfallet is to replace the roof. It is old, leaky and rotten. And it was made on the cheap, way back in the 1920s.
As I tore off the old roof, it was interesting to see that building technology hasn't change much in 95 years, only materials have become better. It was built as a truss structure, covered with a sheathing of boards from end to end, then a layer of water protection wood shavings covered by hardboard. Then a grid of lath for the roof tiles. The new roof will be the same method, except the water barrier will be tar paper instead.
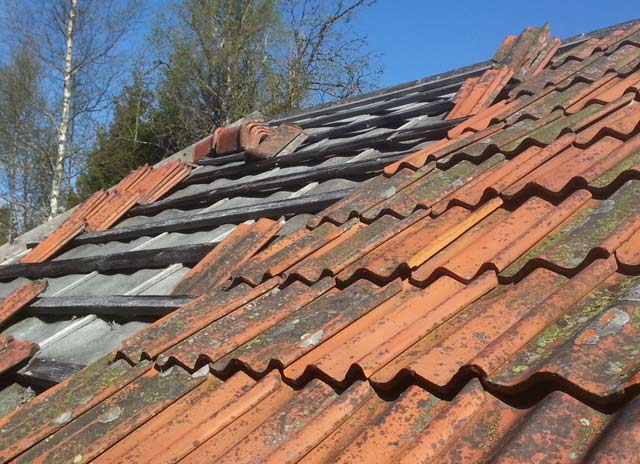
Below: The exterior of the old roof, with some of the tiles removed. Here you can see the hardboard covered with lath strips.
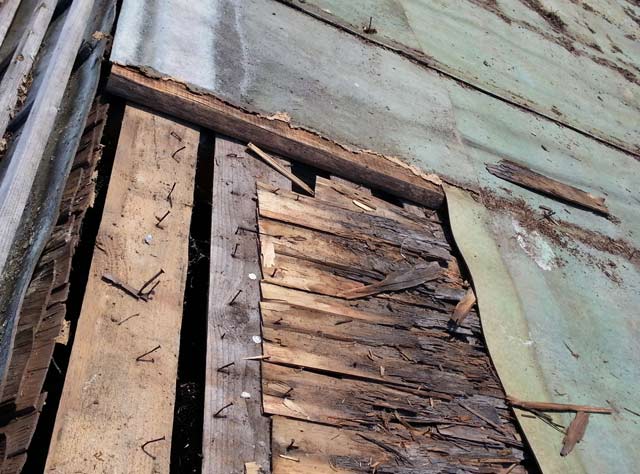
Below: Under the hardboard you can see the wood shavings nailed to the horizontal boards.
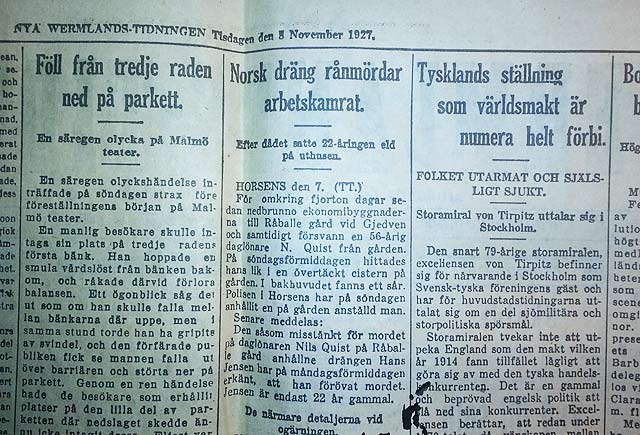
Below: A newspaper found in the saw dust of the attic insulation. Here we can learn that Germany is not a world power anymore, and that a Norwegian farmhand robbed and murdered a coworker.
Below: Half way there, now onto the other side of the roof.
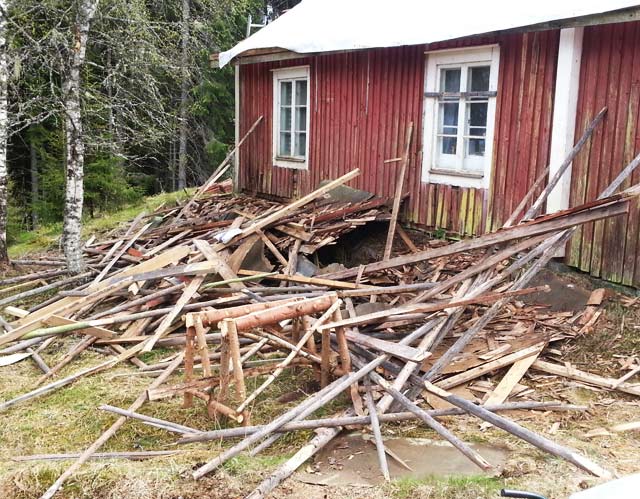
Below: It can get quite messy around the house. After a game of Mikado, it was all gone into the flames of a fire. I covered up the roof with tarp because it rains a lot over here.
Below: The new truss is under construction. Each of the nine sections was assembled on top of the house, because a completed section was too heavy to lift.

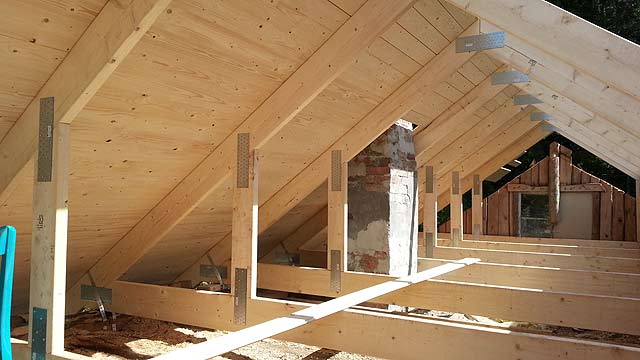
Below: Inside the roof truss. Ceiling joists are 45x195 (2"x8"), rafters are 45x170 (2"x7"), and vertical braces 45x145 (2"x6"). The sections are mounted 1120 mm apart. Sheathing is made from PTG boards that are screwed to the truss to make a foundation for the tar paper and roof tiles. The chimney was mended with some mortar to make it look nice before roof construction started.
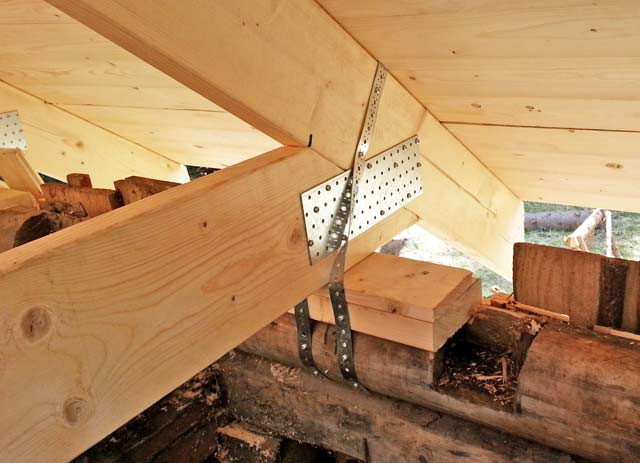
Below: Detail of the truss. Beams are joined by screw plates, and each section is tied down to the timber frame with bands of steel. Partly visible below the second timber log is the old ceiling, which will be removed later. Boards will be screwed to the underside of the truss to make the new ceiling, raising it from 215 cm to a much needed 242 cm (8 ft).
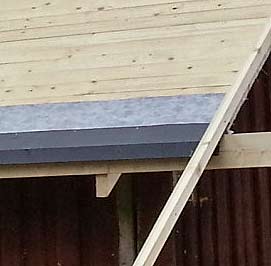 Right: Detail of a roof corner. A layer of tar paper covered by a sheet of metal, to lead the water out and into the gutter (to come later). Each roof side ends with a triangular strip of wood to reinforce the edge for a future gable board.
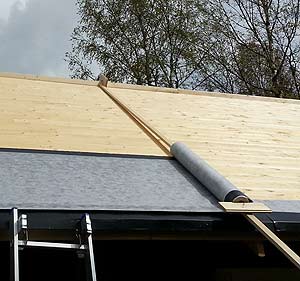 Left: It was tricky to get the tar paper out. I used the method to the left, and refined it further to cover all of the roof. To save time and energy the paper was stapled to the boards instead of using nails. I expected the paper to be black, but its synthetic cover was light gray. It took a long time to get it right, especially with frequent rain and gusts of wind.
Below: The tar paper is complete. It is folded up and glued onto the chimney to make the area water proof.

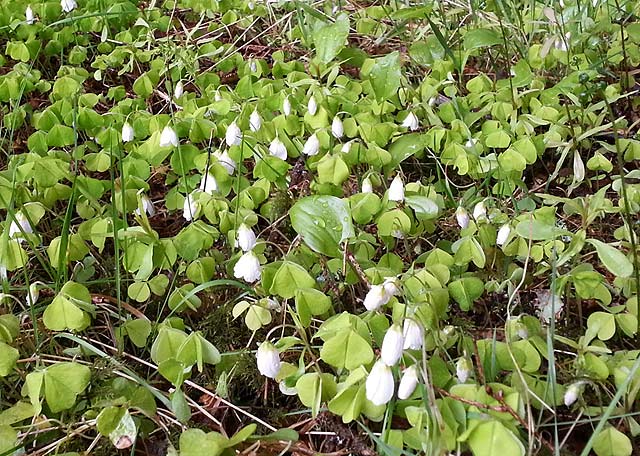
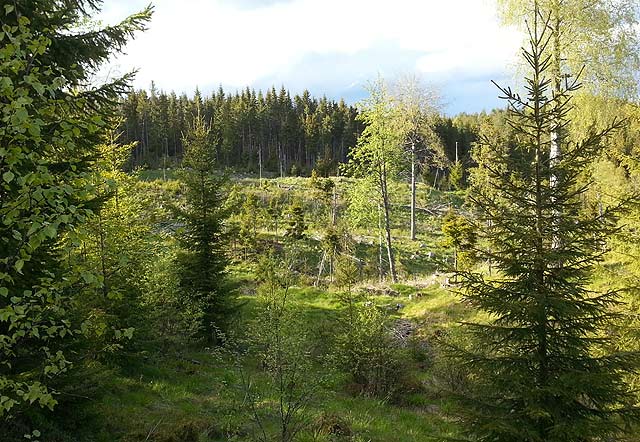
Below: Tired from all the work so far, I took some time off to enjoy the wood sorrel flowers, the trees of Kullfallet and the many cuckoos singing in the area.
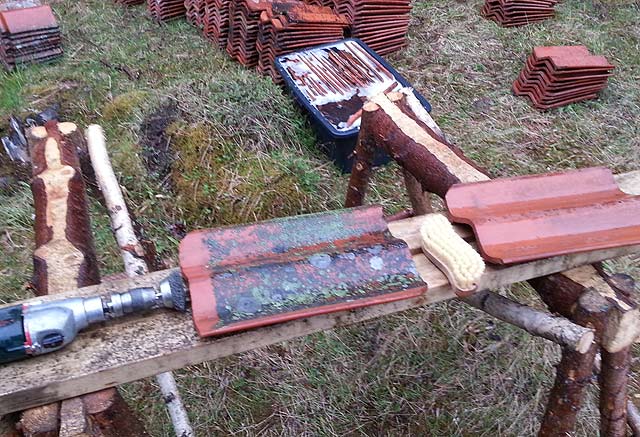
Below: Cleaning up the roof tiles. After the tiles have been soaking in water with detergent, the rotating steel brush effectively removes all dirt, and they are then rinsed with a brush and water. This bruises up the clay surface, possibly making the tiles more sensitive to future discoloring, but at least it is cheaper than buying new tiles.
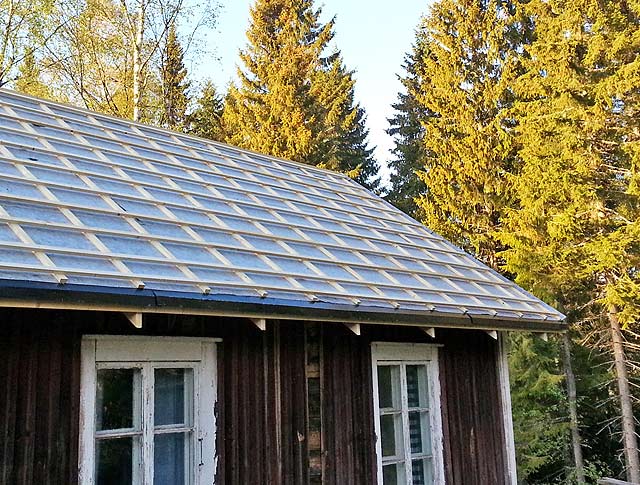
Below: The grid of counter battens and tile battens are in place.
The roof project is now on hold for a few weeks while I concentrate on replacing the exterior wall boards and adding wall insulation. In a future post I will show the roof tiles and solar panels in place, plus the chimney sheet metal work.